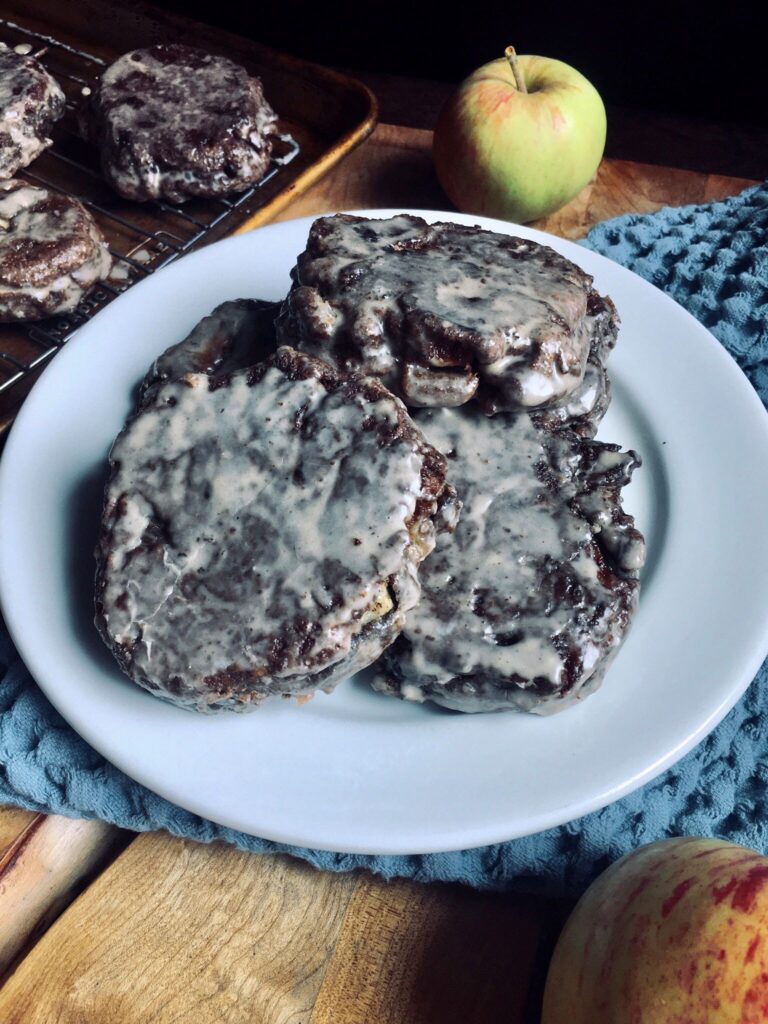
Nutty and rich apple fritters covered in a maple cinnamon glaze. This Buckwheat Apple Fritter recipe is loaded with apples and plenty of fall flavors. A twist on the traditional apple fritter without compromising on quality and delectability.
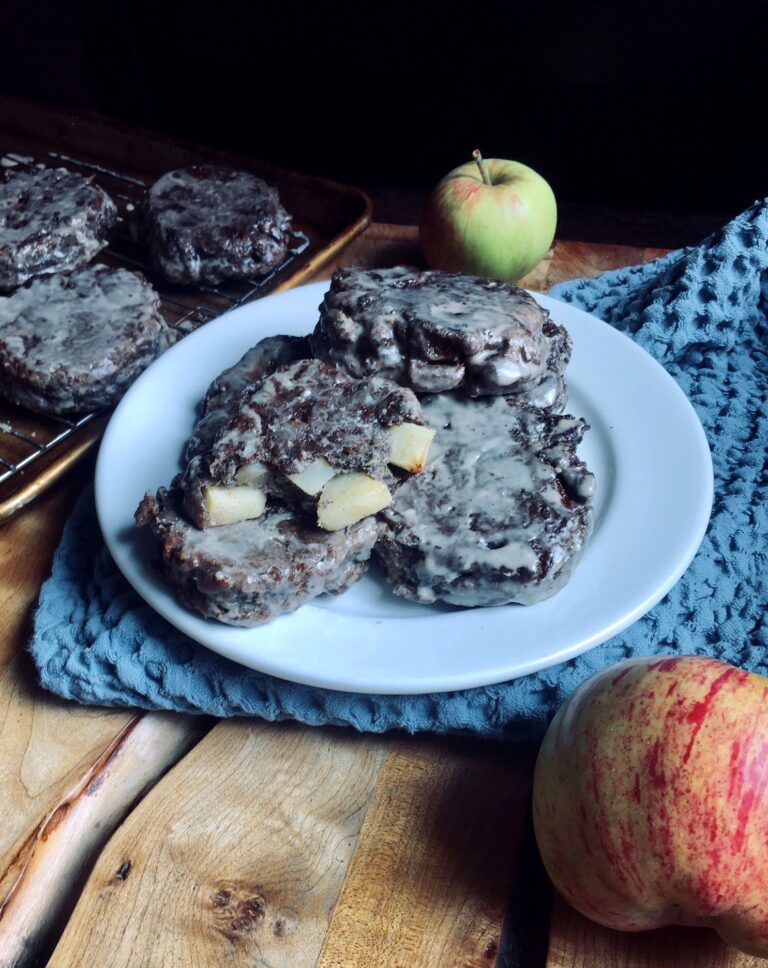
These apple fritters have a crispy exterior and soft and fluffy interior, making them an amazing gluten-free treat. The fritter batter is sweetened with the apples and applesauce but the maple cinnamon glaze boosts these Buckwheat Apple Fritters up to doughnut-shop quality.
To make these Buckwheat Apple Fritters you'll need:
- Buckwheat flour
- Flax meal
- Baking powder
- Salt
- Unsweetened soy milk – This is my go-to non-dairy milk but any non-dairy milk should work.
- Unsweetened applesauce – Try an applesauce with added cinnamon for more flavor in the batter!
- Apple cider vinegar
- Vanilla extract
- Fresh apples – Any variety works.
- Powdered sugar
- Maple syrup
- Ground cinnamon
- Frying oil – Like canola or vegetable oil.
Notes:
How much oil do you need for frying?
Don’t fill the pot you’re frying the apple fritters in more than half full with oil to stay safe! I only do a couple of inches of oil, so it’s more of a shallow fry than deep fry, this helps prevent oil fires and burns and also saves on the amount of oil I’m using.
How long should you fry each fritter?
It should take about 3-5 minutes each side to cook each fritter, but fry time can vary depending on the heat of your oil and size you make the fritter. You want each side to have a deep brown color but if you’re unsure you can always stick a knife in the center to see if it’s still doughy. Just keep an eye on the color of the fritters and adjust the heat as necessary.
Can you speed up the frying process?
You can speed up the time it takes to fry if you have a bigger pot or use multiple pans. I don’t like using that much oil so I take the time to shallow fry in one pan.
Do you need to let the apple fritters cool before glazing?
To make it easier to handle and to make sure the glaze doesn’t just drip right off I recommend waiting at least 5 minutes before glazing. You want the fritters to be only slightly warm or cooled completely for the best results.
How long are apple fritters good for?
These apple fritters are best eaten fresh but will keep in the fridge for up to 2 days.
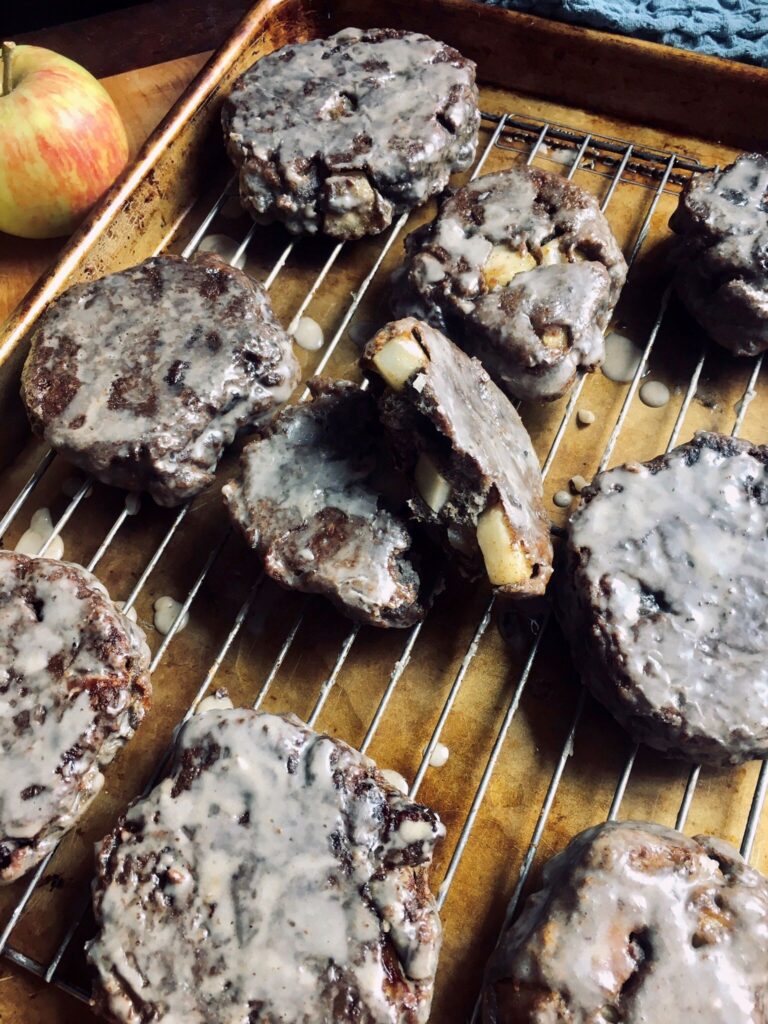
Buckwheat Apple Fritters
Ingredients
For the apple fritters:
- 1½ c buckwheat flour
- ½ c flax meal
- 2 tbsp baking powder
- ½ tsp salt
- 1½ c unsweetened soy milk
- ½ c unsweetened applesauce
- 1 tbsp apple cider vinegar
- 1 tbsp vanilla extract
- 2 c apples, peeled and cubed about 2 large apples
- oil for frying like canola
For the maple cinnamon glaze:
- 1½ c powdered sugar
- 1 tsp ground cinnamon
- 3 tbsp maple syrup
- 3 tbsp unsweetened soy milk
Instructions
- In a medium bowl whisk together the dry ingredients then set aside.
- In a small bowl whisk together the milk, applesauce, apple cider vinegar, and vanilla until well combined then whisk into the dry ingredients.
- Next fold in the cubed apples with a rubber spatula, scraping the sides of the bowl until the batter is smooth and the apples are coated.
- In a tall skillet or Dutch oven (I love using cast iron) heat a few inches of oil to 350℉. If you don't have a thermometer you can test a bit of batter in the oil, if the oil bubbles once the batter touches the oil then it's hot enough to start frying.
- Using a ½ measuring cup or a large ice cream scoop, gently scoop dollops of the batter into the oil. If doing a shallow fry I recommend spreading the batter out slightly into a more pancake shape to help it cook through. Only fry a couple of fritters at a time to prevent overcrowding the pan. Fry for 3-5 minutes on each side or until the fritter is a deep brown.
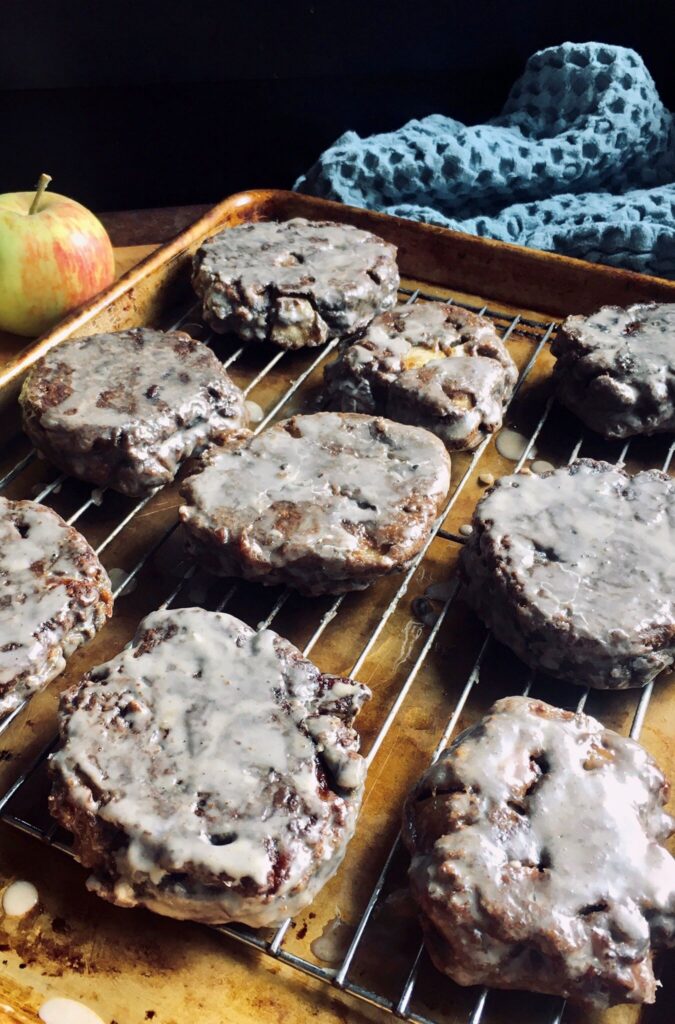
- Using a slotted spoon, remove the fritters from the oil then let cool on a wire rack (make sure to keep the wire rack on a baking sheet to catch the oil). Repeat the process until all the batter is used.
- While the fritters cool, make the glaze by whisking together all glaze ingredients until smooth.
- Dunk each fritter into the glaze, letting the excess drip off before returning to the wire rack. Once the glaze sets, they're ready to be enjoyed!
